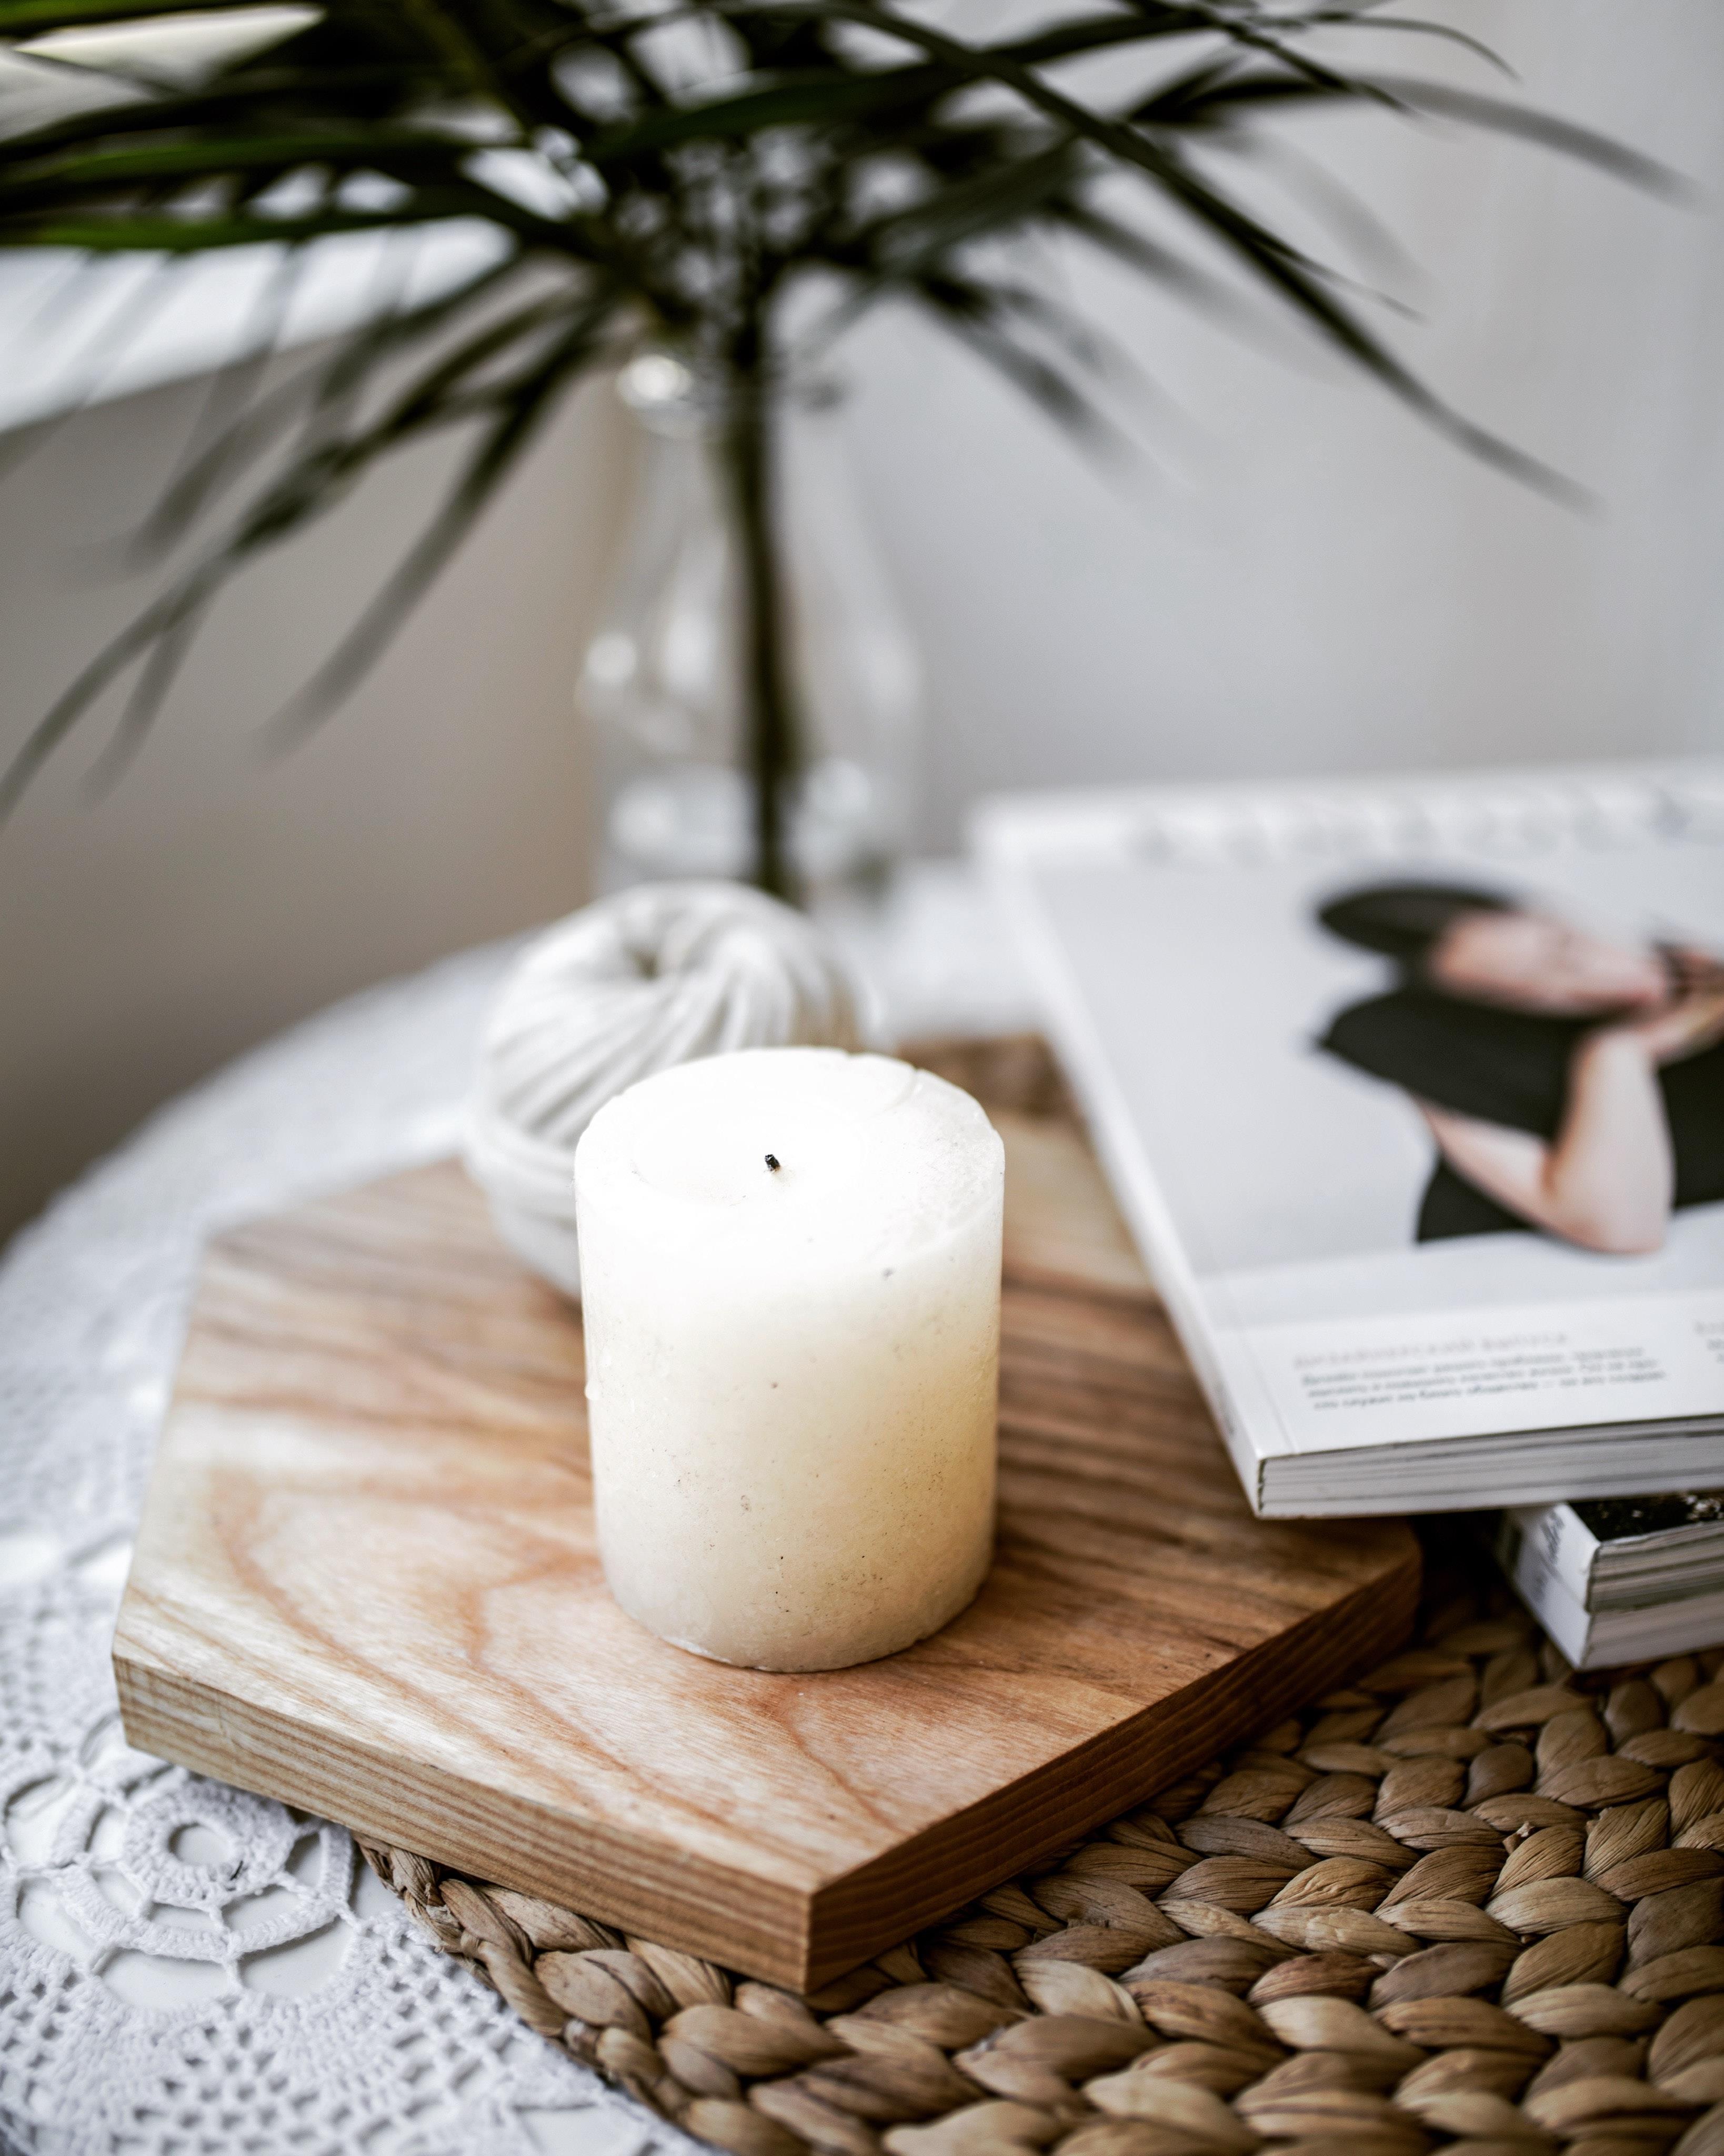
There's something truly captivating about the warm glow and gentle flicker of a candle. Making your own candles is a rewarding and creative hobby that allows you to personalize scents, colours, and styles to suit your taste. If you're an absolute beginner looking to embark on a candle making adventure, this step-by-step guide will provide you with the basics to get started and offer valuable tips to ensure you create beautiful, high-quality candles.
Gather Your Materials:
Before diving into candle making, it's essential to gather the necessary materials. You will need:
Wax (soy, beeswax, or paraffin)
Candle wicks
Containers or moulds
Fragrance oils or essential oils (optional)
Dyes or colour powders (optional)
Thermometer
Double boiler or a heat-resistant container
Stirring utensil (a wooden spoon or a dedicated candle-making stirrer)
Adhesive (glue dots or hot glue) to secure wicks
Wick Trimmer or Scissors
Prepare Your Work Area:
Create a dedicated workspace that is clean, well-ventilated, and away from any flammable materials. Lay down newspaper or a protective covering to catch any spills or drips. Keep in mind that candle making can get messy, so it's best to work on a surface that can be easily cleaned.
Melt the Wax:
Using a double boiler or a heat-resistant container placed in a pot of boiling water, melt the wax over low to medium heat. Stir occasionally to ensure even melting. It's crucial to monitor the temperature with a thermometer to avoid overheating the wax, as different waxes have specific melting points.
Add Fragrance and Colour (Optional):
Once the wax is melted, you can add fragrance oils or essential oils to infuse your candles with delightful scents. Add them slowly, following the manufacturer's recommendations for proper scent ratios. If you wish to add colour, use dyes or colour blocks specifically designed for candle making. Start with small amounts and gradually increase until you achieve the desired colour intensity.
Prepare the Containers and Wicks:
While the wax is melting, prepare your containers or molds. Place the wicks in the center of each container, using adhesive (glue dots or hot glue) to secure them in place. Make sure the wicks are centered and straight.
Pour the Wax:
Before pouring the melted wax, allow it to cool slightly to a temperature recommended for your specific wax type. This step is crucial as pouring wax that's too hot can cause container cracking or wick displacement. Slowly and carefully pour the wax into your prepared containers, leaving some space at the top. Avoid pouring too quickly to prevent air bubbles from forming.
Let the Candles Set:
Allow the candles to cool and solidify completely. This process can take several hours, depending on the size of your candles. It's essential to be patient and avoid disturbing the candles during this time to ensure a smooth and even finish.
Trim and Cure the Wicks:
Once the candles have fully set, trim the wicks to approximately ¼ inch using scissors. This will help ensure a clean and steady burn. Allow the candles to cure for at least 24 hours before lighting them. Curing allows the fragrance to blend and the wax to fully harden, resulting in a better scent throw and longevity.
Tips for Making Good Candles:
-Experiment with different waxes to find the one that suits your preferences and desired outcome.
-Choose high-quality fragrance oils or essential oils for a superior scent experience.
-When adding colour, start with a small amount and gradually increase to achieve the desired shade. Less is often more when it comes to colouring candles.
-Use a dedicated stirring utensil to avoid cross-contamination of scents or colours.
-If using containers, ensure they are heat-resistant and suitable for candle making.
-Keep track of the recommended pouring temperatures for your specific wax to avoid issues like container cracking or poor scent throw.
-Be mindful of the wick size and type, as it plays a significant role in how your candle burns. Research the appropriate wick size for the container size and type of wax you are using.
Candle making is a delightful and creative hobby that allows you to express your personal style while enjoying the ambiance and fragrance of homemade candles. By following this beginner's guide and implementing the provided tips, you'll be well on your way to creating beautiful, high-quality candles that bring warmth and joy to any space. Embrace the art of candle making and let your creativity shine!