Are you ready to get crafty and make your own luxurious glycerine soap at home? Look no further! With just a few simple steps and some creative flair, you can create beautiful, customized soaps that make perfect gifts or indulgent treats for yourself. Let's dive into the fun world of soap making!
Materials You'll Need:
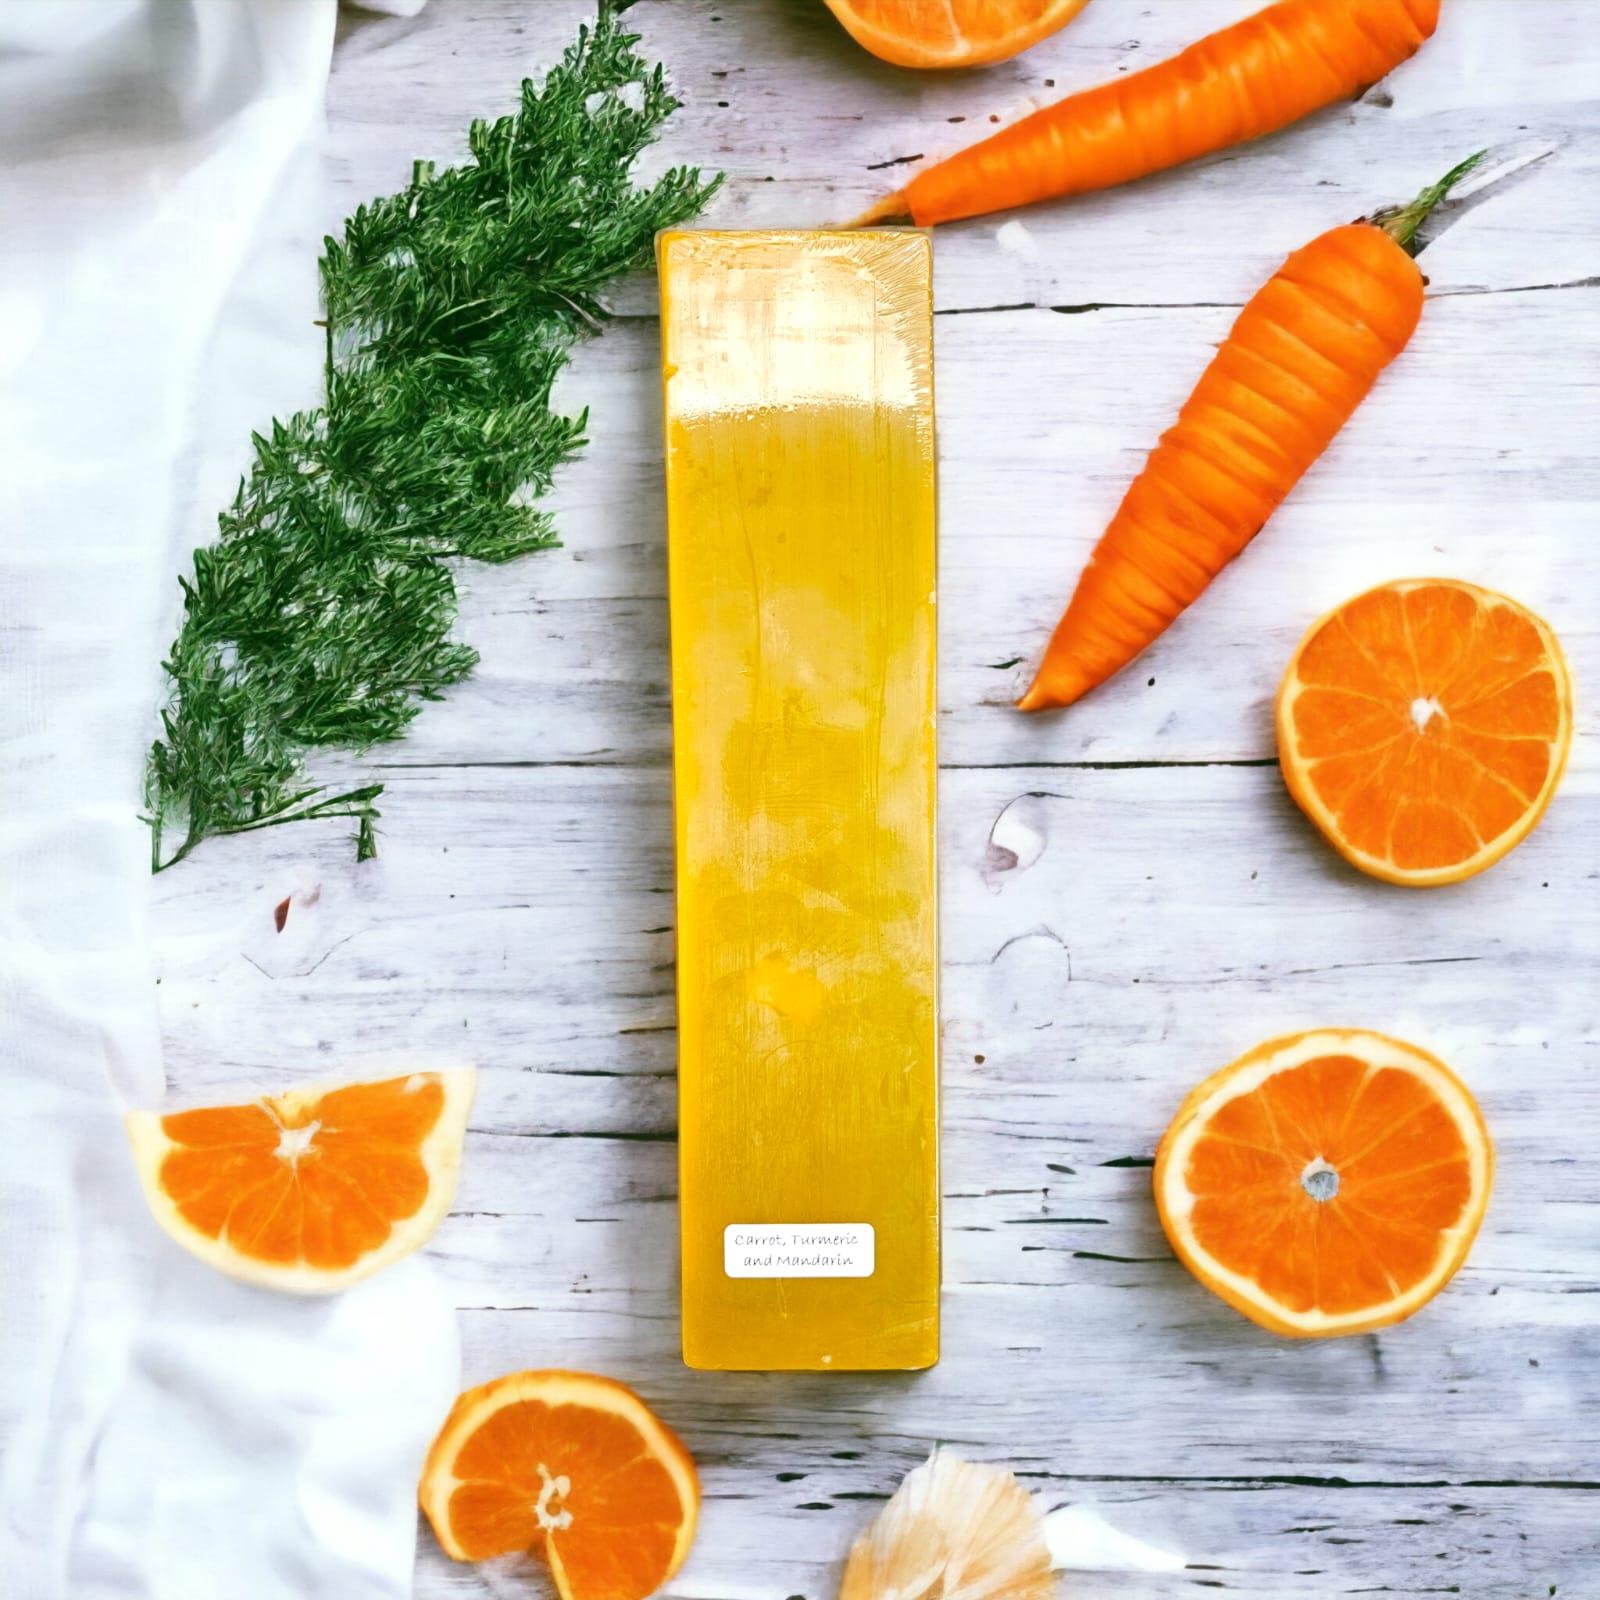
1. Melt and pour soap base (glycerine)
2. Soap moulds
3. Microwave-safe container or double boiler
4. Soap colourants/Mica (optional)
5. Soap fragrance or essential oils (optional)
6. Soap-safe additives like dried flowers, herbs, or exfoliants (optional)
7. Knife or soap cutter
8. Bubble Go Spray
9. Cutting board
10. Heat-resistant gloves (optional but recommended)
Step-by-Step Instructions:
1. Prepare Your Workspace: Set up a clean, organized workspace with all your materials within reach. Cover your work surface with parchment paper or a plastic tablecloth to protect it from any spills.
2. Cut the Soap Base: Using a knife or soap cutter, cut the melt and pour soap base into small, uniform chunks. This will help the soap melt more evenly.
3. Melt the Soap Base: Place the chunks of soap base into a microwave-safe container or double boiler. If using a microwave, heat the soap in short intervals, stirring in between, until fully melted. Be careful not to overheat the soap, as it can become scorched or develop bubbles. If using a double boiler, melt the soap over low to medium heat, stirring occasionally until melted.
4. Add Colour and Fragrance: Once the soap base is melted, you can add soap colourants and fragrance oils or essential oils to customize your soap. Start with a small amount of colourant and fragrance, as a little goes a long way. Stir gently until the colour and scent are evenly distributed throughout the soap base.
5. Pour into Molds: Place your soap moulds on a flat surface and carefully pour the melted soap base into the moulds. Spray Bubble Go Spray on any bubbles that surface. If desired, you can sprinkle in dried flowers, herbs, or exfoliants at this stage for added texture and visual appeal. Tap the moulds gently on the countertop to release any air bubbles.
6. Cool and Set: Allow the soap to cool and harden completely in the moulds. This usually takes a few hours, depending on the size and depth of your soap moulds. For faster setting, you can place the moulds in the refrigerator for about 30 minutes.
7. Unmould the Soap: Once the soap has hardened, gently pop it out of the moulds. If you encounter any resistance, you can place the moulds in the freezer for a few minutes to help release the soap.
8. Finishing Touches: Use a knife or soap cutter to trim any rough edges or excess soap from the bars. For a polished look, lightly spritz the soap with rubbing alcohol to remove any surface bubbles or imperfections.
9. Storage and Enjoyment: Glycerine soap has a high moisture content. Cling-wrap your soap so that it doesn't start sweating. Store your homemade glycerine soap in a cool, dry place away from direct sunlight. Use it yourself or share your handmade creations with friends and family!
Tips and Techniques:
- Experiment with different colour combinations and fragrance blends to create unique soap designs.
- Layering different colours of melted soap base in the moulds can result in beautiful, multi-coloured soaps.
- Swirling techniques can be achieved by gently swirling different colours of melted soap base together in the moulds with a skewer or toothpick.
- Don't be afraid to get creative with additives like dried flowers, herbs, or exfoliants for added visual interest and skincare benefits.
Making glycerine soap with melt and pour soap base is a fun and rewarding DIY project that allows you to unleash your creativity and customize your skincare routine. With these easy-to-follow steps and a little imagination, you'll be making beautiful, handmade soaps in no time!