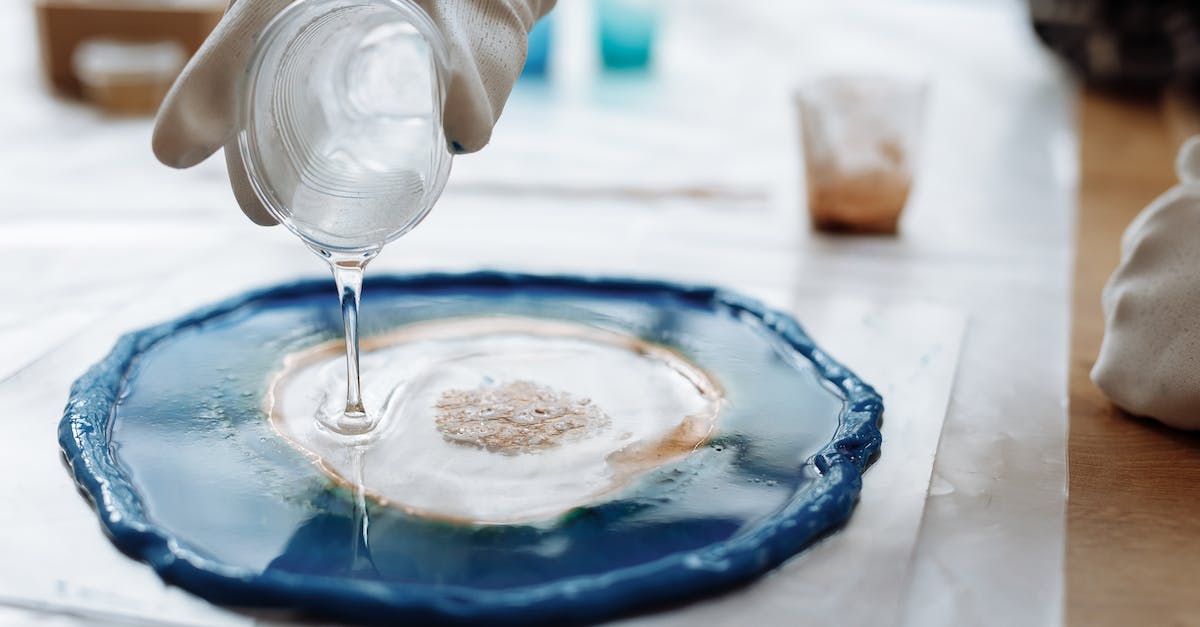
Resin crafting has gained immense popularity in recent years, allowing artisans to create stunning and durable pieces of art. However, one common challenge that many beginners face is the formation of unwanted bubbles in their resin creations. Fear not! In this blog, we will unravel the secrets to getting the least amount of bubbles when working with resin, ensuring that your masterpieces emerge flawlessly and bubble-free.
Work in a Controlled Environment:
Resin is sensitive to temperature and humidity, which can influence the formation of bubbles. Try to work in a controlled environment with moderate temperatures and humidity levels. Avoid crafting in extremely cold or hot conditions, as temperature fluctuations can trap air and create bubbles.
Preparing Your Work Area:
Before starting your resin project, ensure your work area is clean, dry, and free of dust. Wipe down surfaces with a lint-free cloth and eliminate any potential sources of airborne particles that could lead to bubbles in your resin.
Measure and Mix Resin Properly:
Accurate measuring and thorough mixing are crucial to minimizing bubbles. Use a digital scale to precisely measure the resin and hardener components in the correct ratio. Stir the mixture slowly and consistently for the recommended time to achieve a homogeneous blend without introducing additional air.
Degassing the Resin:
If you have access to a vacuum chamber, degassing your resin before pouring can be a game-changer in reducing bubbles. Placing the mixed resin in a vacuum chamber helps remove trapped air bubbles, resulting in a smoother and more bubble-free pour.
Use a Heat Gun or Torch:
After pouring the resin into your mould, gently run a heat gun or propane torch several inches above the surface. The heat will help to release any remaining air bubbles in the resin. Be cautious not to overheat or scorch the resin.
Allow Time for Bubbles to Rise:
If using a silicone mould, let the resin sit for a few minutes after pouring. Bubbles have a natural tendency to rise to the surface, and this resting period allows them to escape before the resin starts to set.
Pouring Techniques:
When pouring resin, try to create a smooth and steady stream to minimize the introduction of air. Avoid pouring from a great height, as it can create air bubbles upon impact with the surface.
Spraying alcohol on resin can also help get rid of bubbles and create a smoother surface in your resin creations. The process of spraying alcohol is commonly known as "alcohol spritzing" or "alcohol torching". Use isopropyl alcohol in a fine mist spray bottle. Hold the spray bottle a few inches above the resin surface and lightly mist the area. You should see the alcohol droplets disperse across the resin. The alcohol will quickly evaporate, and as it does, it will draw the air bubbles to the surface of the resin. As the bubbles rise to the surface, they will pop, leaving you with a smoother and more bubble-free finish.
*Note: While alcohol spritzing is effective for removing surface bubbles, it may not eliminate all bubbles in the resin, especially if there are larger or more stubborn bubbles within the mixture. To further reduce the chances of bubbles, follow the tips mentioned in the previous blog, such as accurate measuring, thorough mixing, and working in a controlled environment.
Always ensure proper ventilation when using alcohol or a torch in your resin crafting, and take appropriate safety precautions. Using alcohol on resin should be done with care, especially if you are working with resin in an enclosed or poorly ventilated space.
Resin crafting opens up a world of artistic possibilities, and by mastering the art of minimizing bubbles, your creations will reach new levels of excellence. From accurate measuring and mixing to degassing and employing the right pouring techniques, these tips will help you achieve stunning, bubble-free resin masterpieces. Embrace the process, experiment, and refine your resin crafting skills as you create breathtaking works of art that truly stand out. Happy crafting!